Webshop Configuration
Enabling the Webshop
Section titled “Enabling the Webshop”The module is available unless WEBSHOP_ENABLED=false is set in the .env file, which hides every webshop setting and screen at once. With that left alone, the shop is turned on from the settings:
- Open the Settings panel in Lychee.
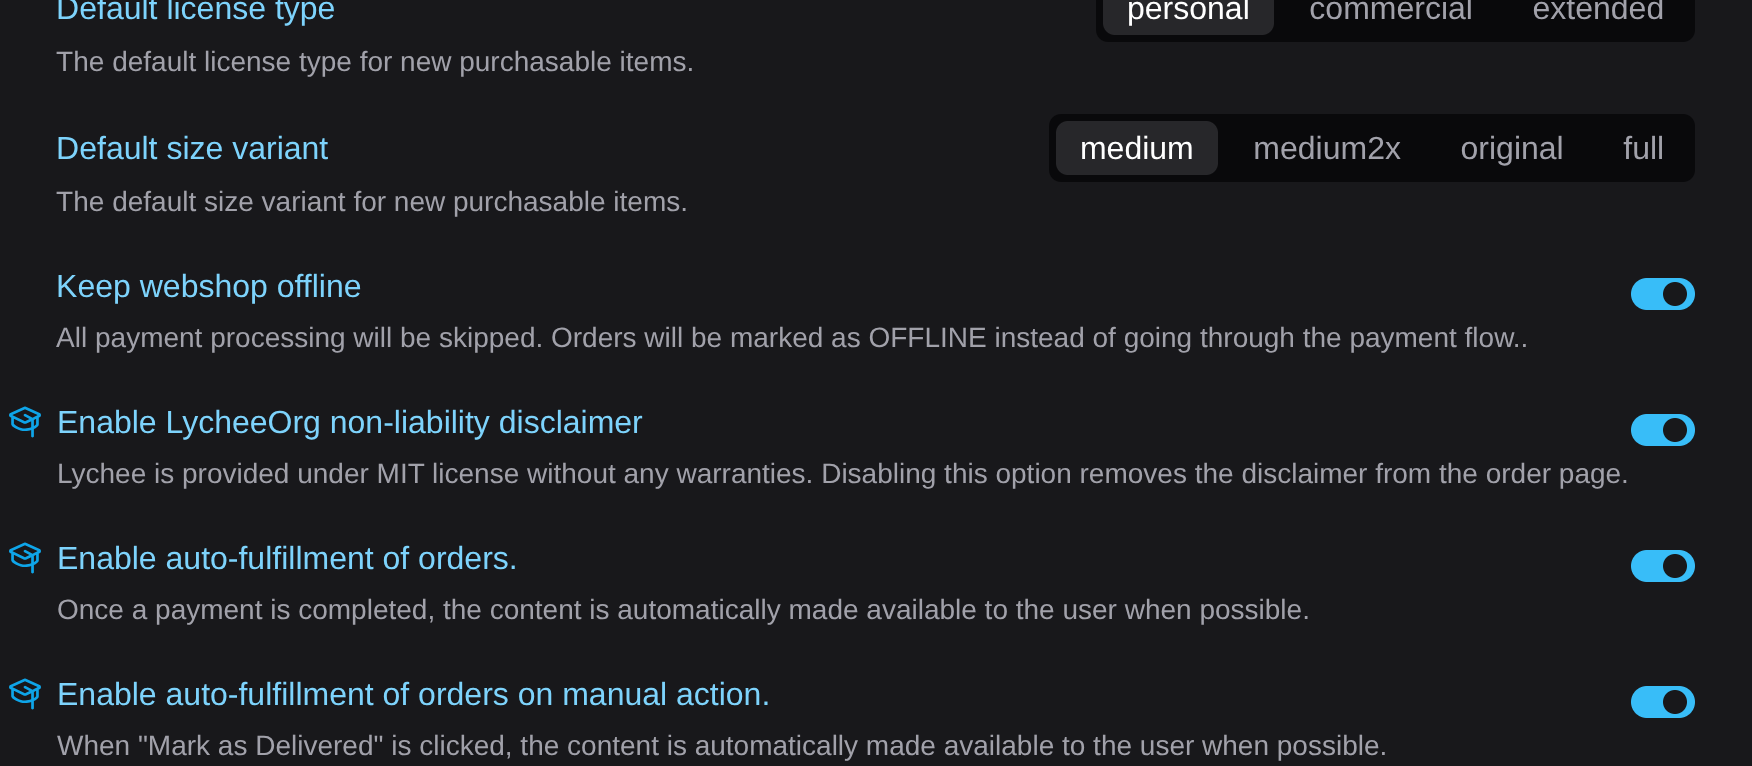
- Locate the Webshop section and turn on
webshop_enabled. - Set the currency, and the defaults used when a new purchasable is created.
- Decide how orders are fulfilled: automatically once payment completes, and/or when you click Mark as Delivered.
Settings
Section titled “Settings”| Setting | Description | Default |
|---|---|---|
webshop_enabled | Master toggle. Albums and photos can be set as purchasable. | off |
webshop_currency | Currency used for display and charging. Must be a valid ISO 4217 code. | EUR |
webshop_offline | Skip payment processing entirely. Orders go straight to the offline status. | off |
webshop_allow_guest_checkout | Let customers check out without an account. They must then provide an email address. | on |
webshop_auto_fulfill_enabled | Make the content available automatically once a payment completes, when Lychee can. | on |
webshop_manual_fulfill_enabled | Make the content available when you click Mark as Delivered, when Lychee can. | on |
webshop_default_price_cents | Price, in cents, pre-filled for a new purchasable. | 0 |
webshop_default_license | License pre-filled for a new purchasable: personal, commercial, or extended. | personal |
webshop_default_size | Size pre-filled for a new purchasable: medium, medium2x, original, or full. | medium |
webshop_default_description | Description used when a purchasable has none of its own. | No description provided. |
webshop_terms_url | Optional link to your terms and conditions, shown at checkout. | empty |
webshop_privacy_url | Optional link to your privacy policy, shown at checkout. | empty |
webshop_lycheeorg_disclaimer_enabled | Show the LycheeOrg non-liability disclaimer on the order page. | on |
Defining the sizes you sell
Section titled “Defining the sizes you sell”Before pricing anything, define the catalogue of sizes in the shop management screens. Both lists are global and reused across every album.
- Print sizes - a display label, a width and a height in
cmorinch, and an optional paper type. Used for physical prints, which require a shipping address at checkout. - Pixel sizes - a display label and a width and height in pixels, for digital deliveries at a dimension of your choosing.
Both can be deactivated instead of deleted, which hides them from customers while keeping past orders readable.
Alongside them, Lychee can sell the size variants it already stores:
| Variant | Meaning |
|---|---|
medium, medium2x | The medium previews generated on import |
original | The file as uploaded, downloadable directly |
full | The largest export you can produce, which Lychee does not hold. Always fulfilled manually |
Setting Up Products
Section titled “Setting Up Products”Products are configured per album, and optionally per photo.
- Navigate to the album you want to sell photos from.
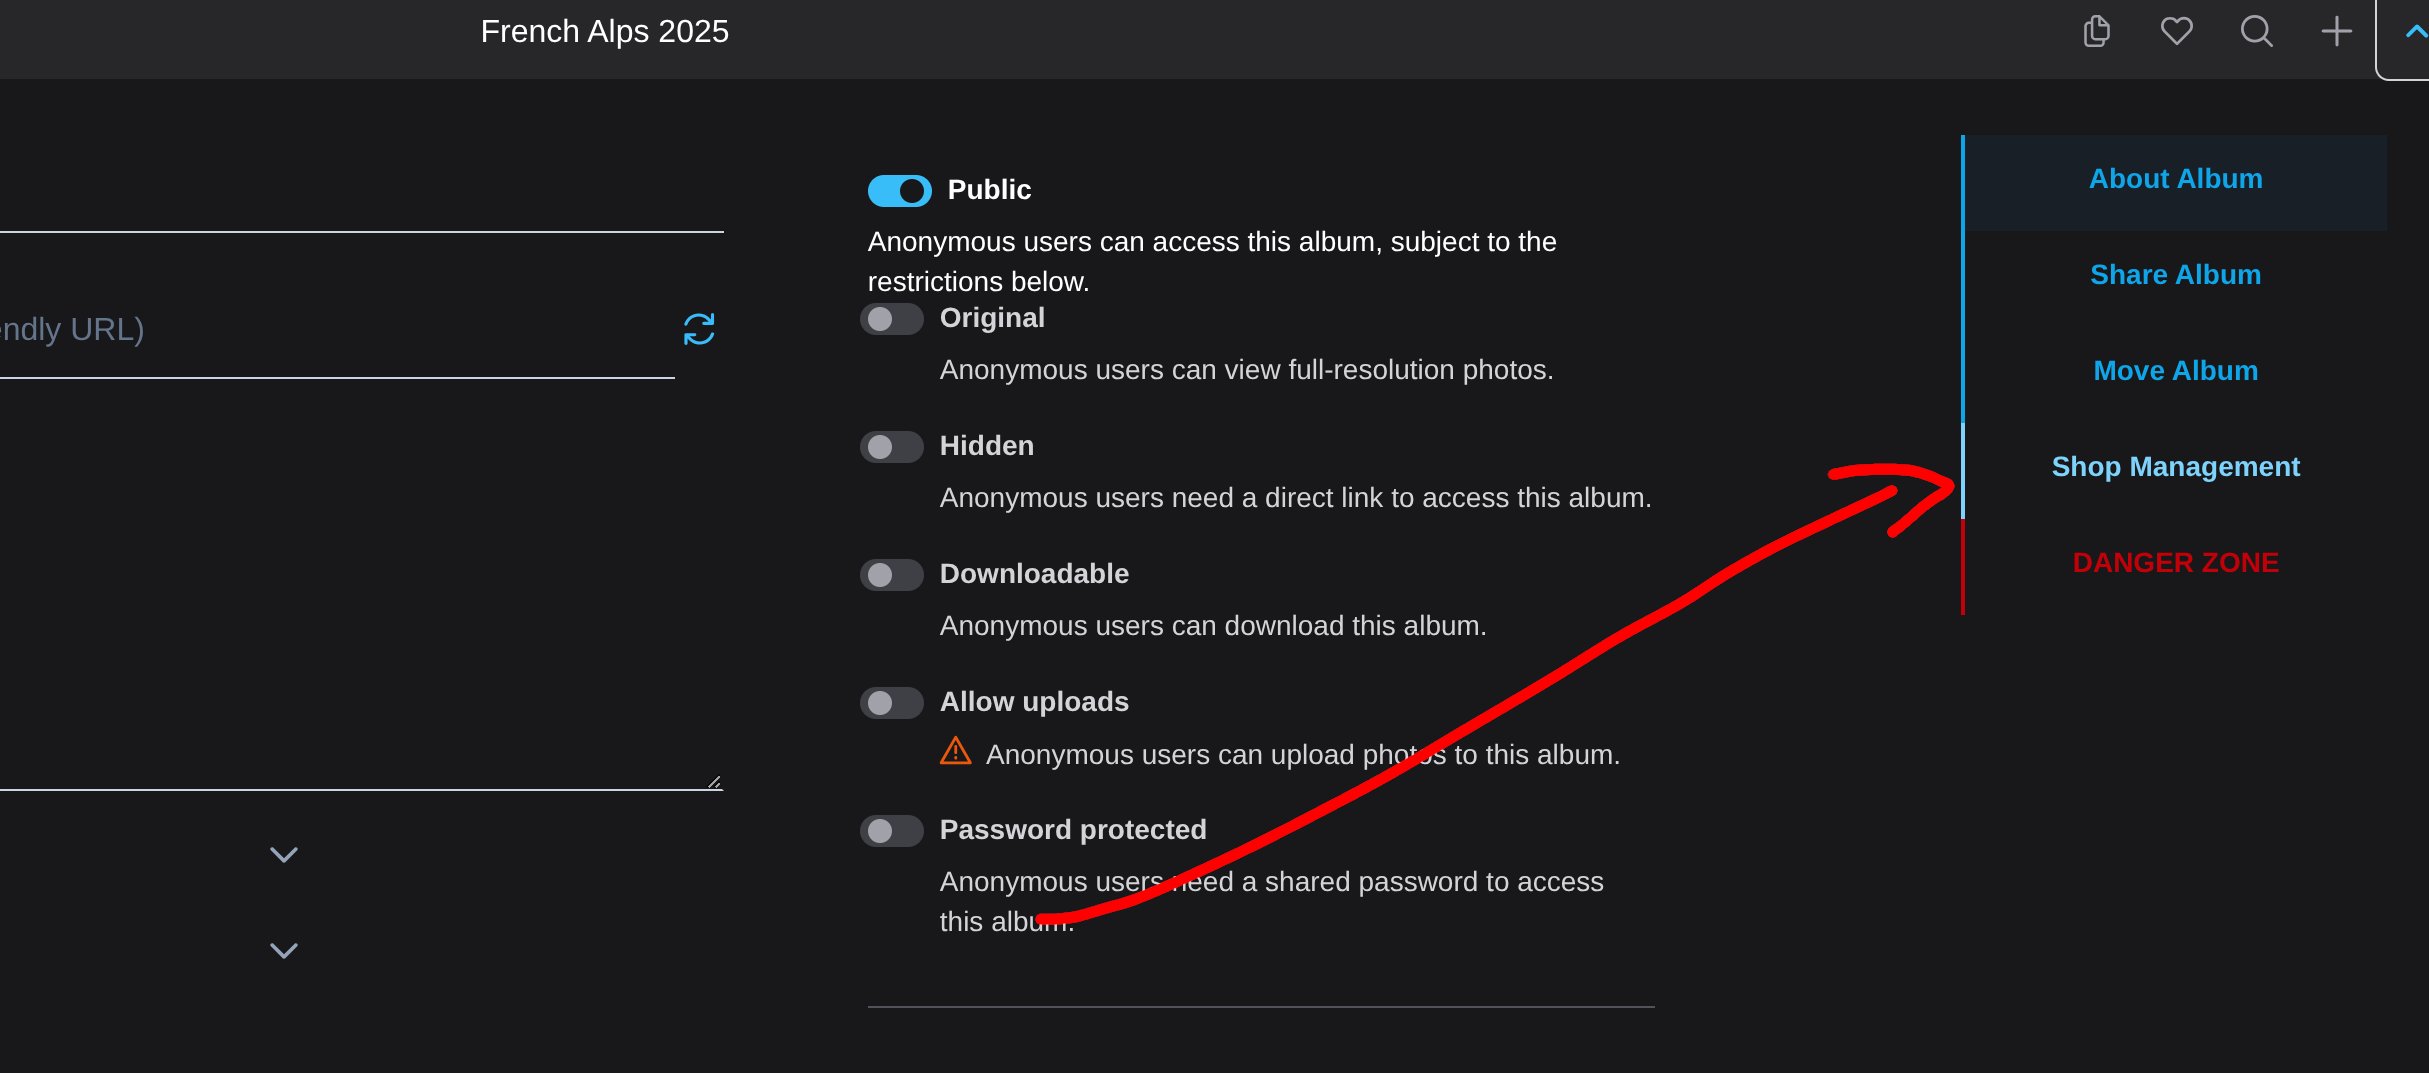
- Open the album settings and go to the Shop Management tab.
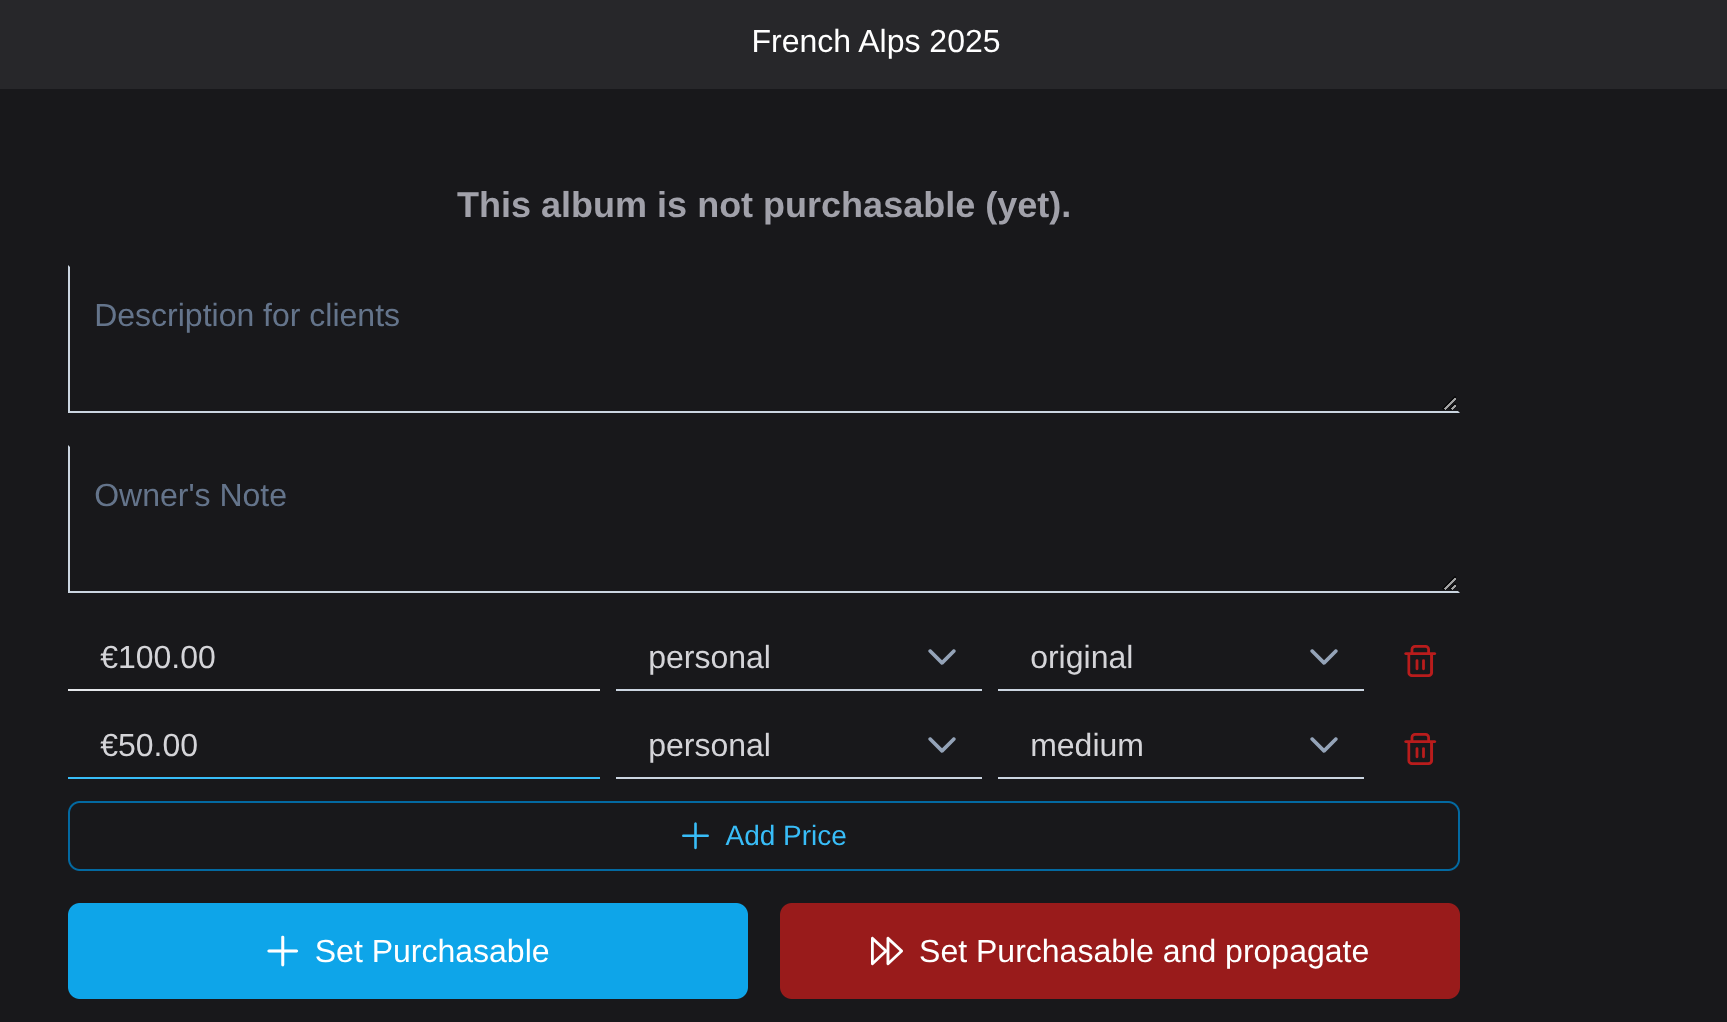
- Write the description customers will see, and an owner’s note for yourself if useful.
- Add prices. Each line is a combination of a license type and a size, with its own price; the same size can appear several times under different licenses. Two lines with the same license and size are rejected as duplicates.
- Save with Set Purchasable, or Set Purchasable and propagate to apply the same configuration to the sub-albums.
At least one price is required for an album to become purchasable. Disable takes it back off sale without losing the prices.
How Visitors See It
Section titled “How Visitors See It”When the webshop is active on an album:
- A basket icon appears in the top-right corner of each photo thumbnail on hover.
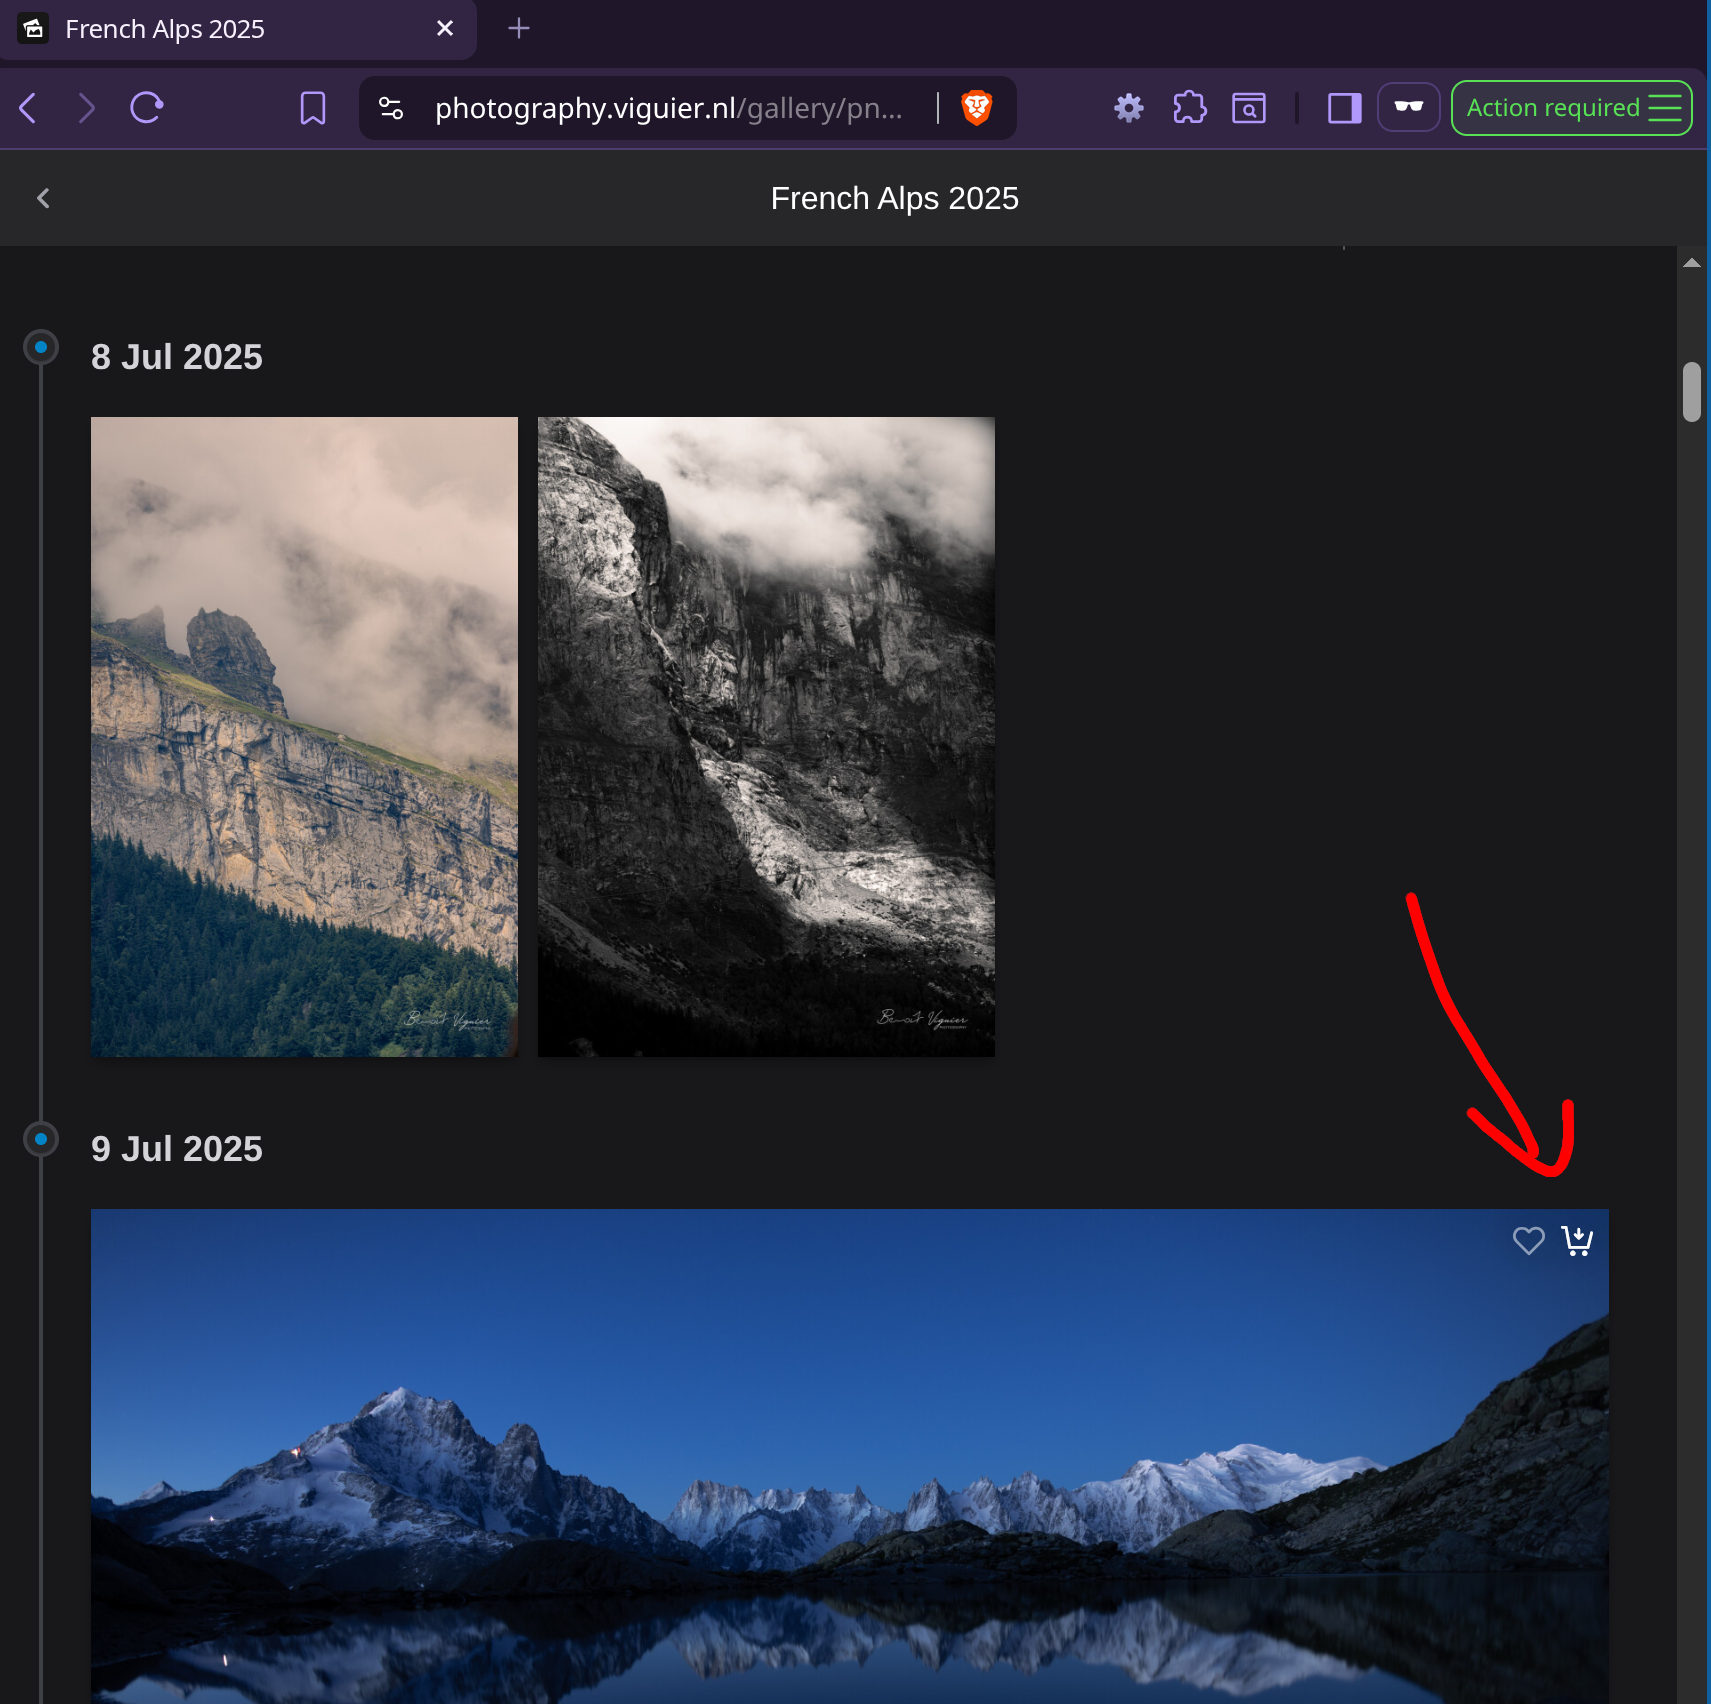
- Clicking it opens a selector for the size, the license, and an optional note for that item.
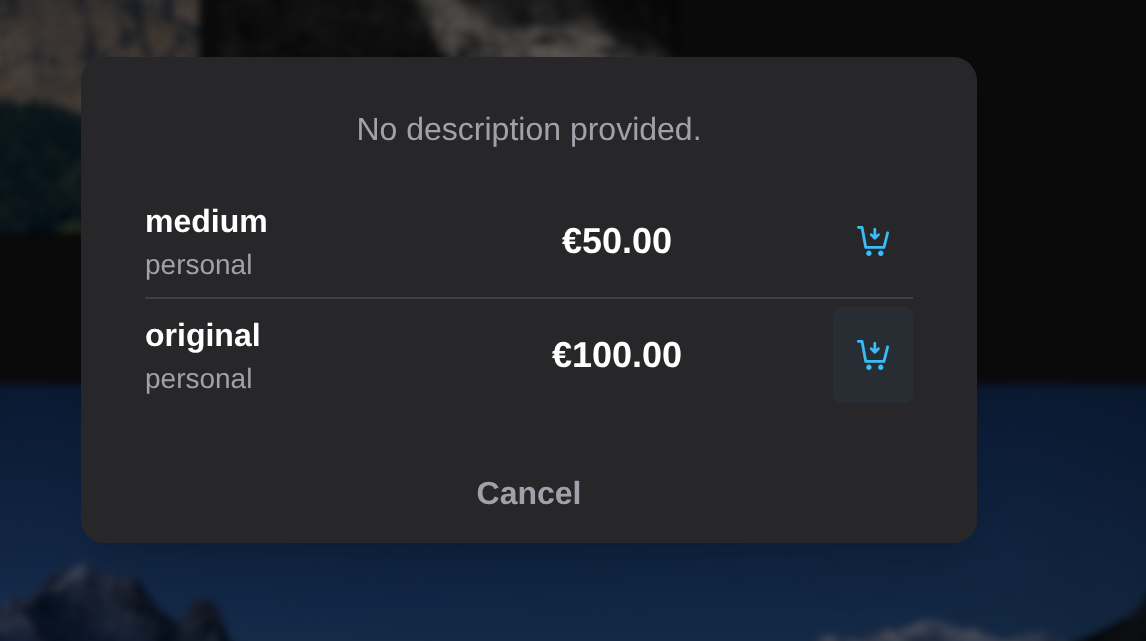
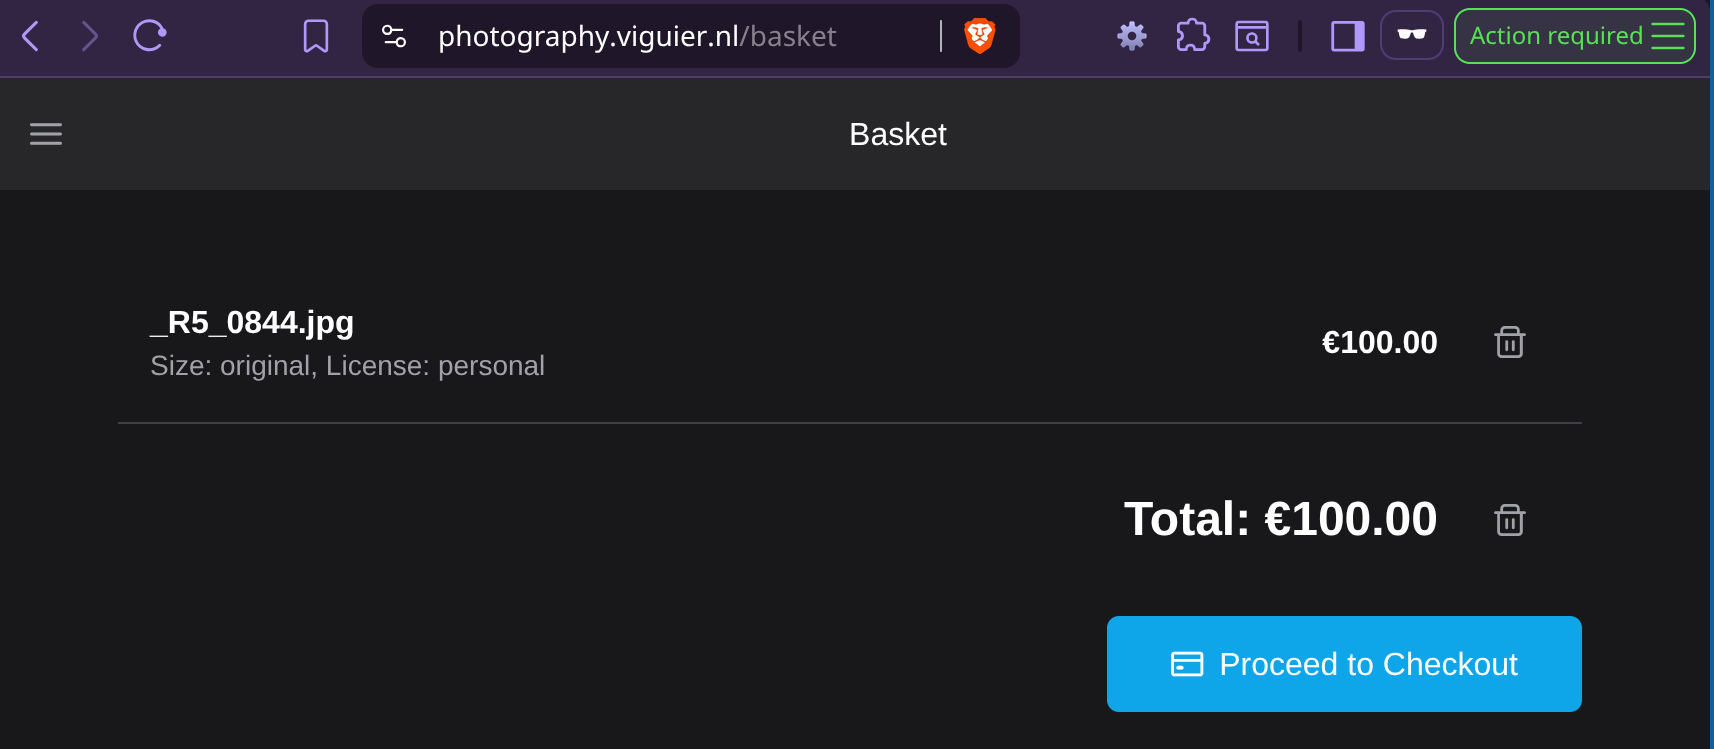
- Selected items go to a basket visible in the top-right corner of the page, where each line can be removed and the whole basket cleared.
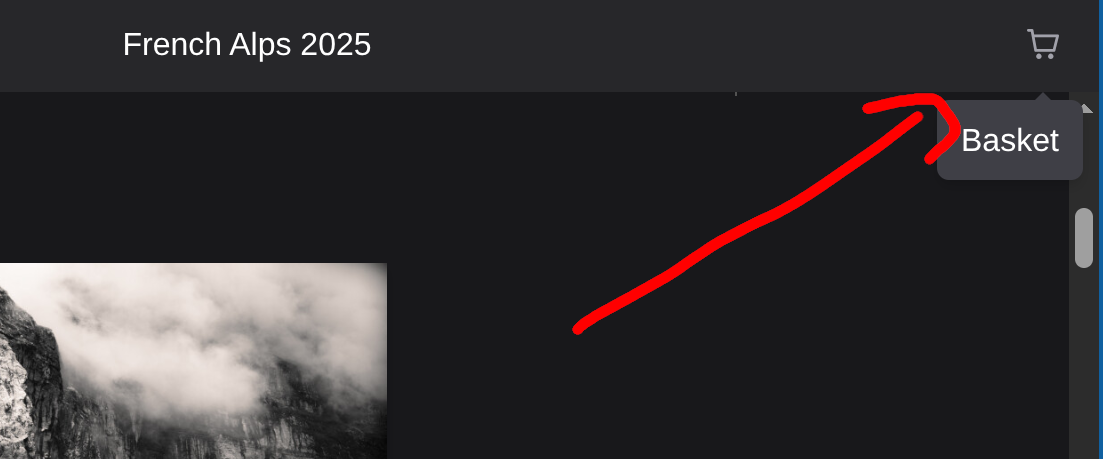
- Checkout runs in three steps: Your info, Payment, Confirmation. Guests enter an email address and accept the privacy policy and terms; a shipping address is requested when the basket contains a print.
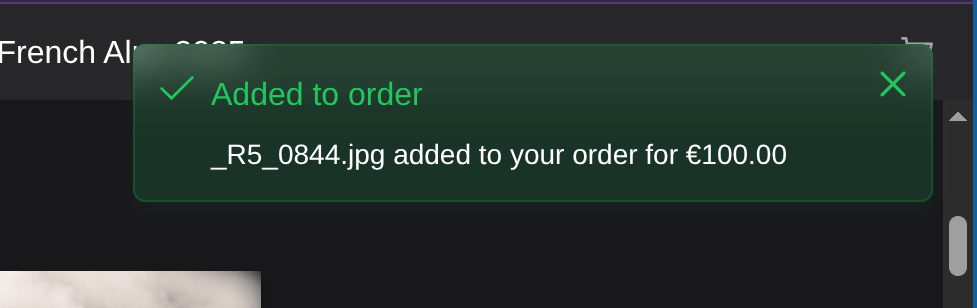
- The confirmation page shows the order number and the transaction ID. Customers need both to come back to their order later, so the page tells them to keep them.